Feature Flags are an important part of DevOps. Where DevOps is initially about things like breaking down silos and implementing a continuous flow of value, the next steps are all about Feature Flags, A/B Testing and monitoring.
The concept of Feature Flags is simple. In my book, DevOps on the Microsoft Stack, I discuss how to use the open source FeatureToggle library from Jason Roberts hosted on GitHub. This library allows you to define toggles and store the state in your configuration file, a database or through a web service call. When a toggle is on, you activate a feature. When it’s off, you remove the feature and don’t show it to the user. That’s a great start but there is more possible when using Feature Flags.
Feature Flags with LaunchDarkly
LaunchDarkly is a commercial implementation of a Feature Flags framework. It’s very easy to use and it’s way more powerful then FeatureToggle but it’s not free. In the following steps I want to show you how to implement a very simple toggle for an ASP.NET MVC application.
You first have to signup for LaunchDarkly to get an API-key. You can start a free 30 day trial that gives you all the available features. If you navigate to https://launchdarkly.com/ you can start a free trial by entering only your email address and a password.
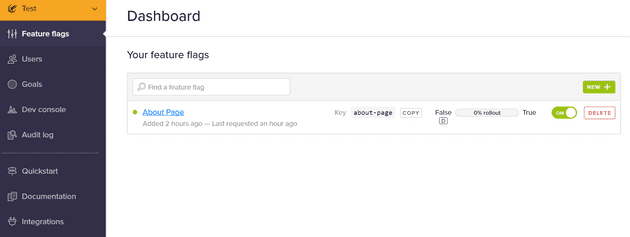
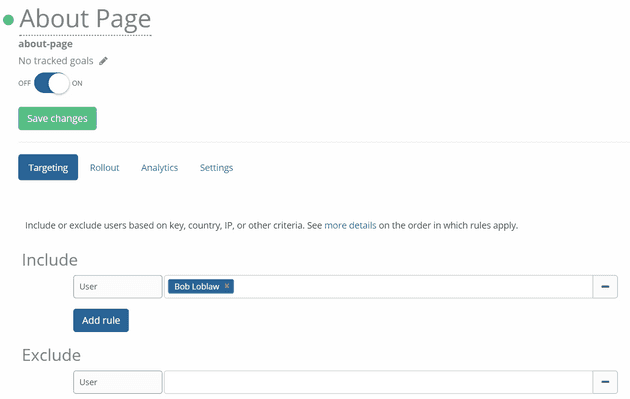
You’re then taken to the portal where you can create your first Feature Flag. I’ve created a flag named About Page that I want to use to determine the visibility of the about page in my ASP.NET MVC web app.
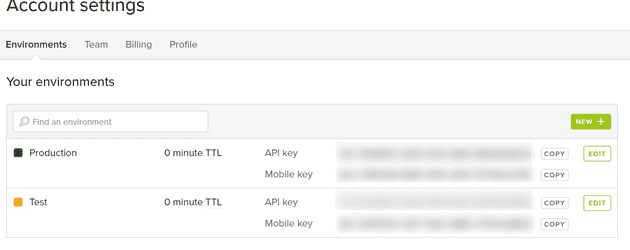
To integrate LaunchDarkly into your application, you need an API key. If you go the Account settings in the portal, you see that there are two predefined environments: production and _test. _I’ve chosen to use the test environment API key for this project.
Now launch Visual Studio and create a new web project. I’ve chosen for an ASP.NET 4.6 MVC template with individual user authentication. After the project is created, install the the NuGet package with the LaunchDarkley client:
Install-Package LaunchDarkly.Client
LaunchDarkley requires the newest NewtonSoft.Json package so after installing LaunchDarkley run:
Update-Package Newtonsoft.Json
Update the HomeController.cs file to the following content:
using System.Web.Mvc;
using LaunchDarkly.Client;

namespace FeatureFlags.Controllers
{
    public class HomeController : Controller
    {
        static LdClient client = new LdClient("YOURAPIKEY");

        public ActionResult Index()
        {
            User user = GetUser();
            bool value = client.Toggle("about-page", user, false);

            ViewData["togglevalue"] = value;
            return View();
        }

        public ActionResult About()
        {
            User user = GetUser();

            bool value = client.Toggle("about-page", user, false);
            if (value)
            {
                ViewBag.Message = "Your application description page.";
                ViewData["togglevalue"] = value;
                return View();
            }
            else
            {
                return HttpNotFound();
            }
        }

        private static User GetUser()
        {
            return LaunchDarkly.Client.User.WithKey("bob@example.com")
                            .AndFirstName("Bob")
                            .AndLastName("Loblaw")
                            .AndCustomAttribute("groups", "beta_testers");
        }

        public ActionResult Contact()
        {
            ViewBag.Message = "Your contact page.";

            User user = GetUser();
            bool value = client.Toggle("about-page", user, false);
            ViewData["togglevalue"] = value;
            return View();
        }
    }
}
And update the rendering of the About Action Link in _Layout.cshtml to:
@if (ViewBag.togglevalue == true)
{
    <li>@Html.ActionLink("About", "About", "Home")</li>
}
OK. So what did we do? The HomeController starts with initializing a static LaunchDarkley client. This member is static because the documentation says that you only want one instance of this variable for your whole application.
Then all three action methods are modified to check if the user has access to the about page. In the Index and Contact method, this data is passed to the view in the ViewBag. When hitting the About page, this data is not only passed to the view but it’s used to check if the user is allowed to see the page. If not, an HttpNotFound is returned.
Finally, the Layout.cshtml page checks the toggle value and renders the link if the user is allowed to see it.
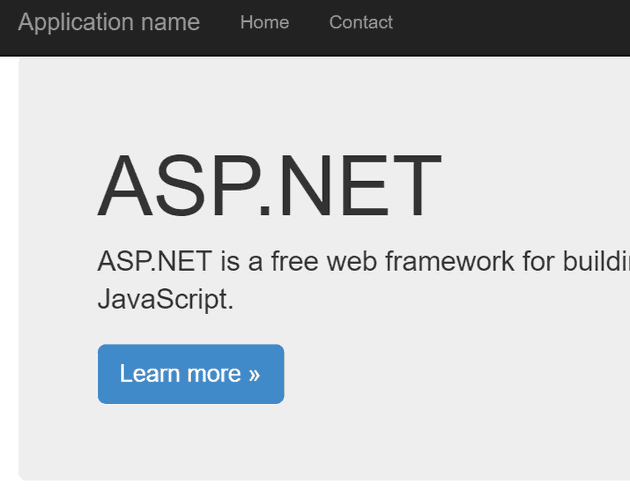
If you now run the application, you’ll see that the About link is not visible and that navigating to /Home/About returns a 404. This is because the user is not known to the system and by default the flag is set to false.
To enable the toggle, go to the LaunchDarkly portal and select the About Page feature toggle. In the targeting panel you can explicitly list users that are allowed or disallowed based on their key, country, IP, etc. For this sample, just add Bob Lowblaw (the hard coded name of the user in this sample) to the included list and hit save changes.
If you now refresh your local website, the About link becomes visible and you can navigate to it.
And this is only the beginning. Targeting users (or groups of users) is a great start but still requires manual configuration. Another feature of LaunchDarkley is rolling out your application to a configurable percentage of your users. You can also configure goals that you have (such as a number of page views), link these goals to your feature flags and then analyze the data coming out of this.
I think LaunchDarkley is a very interesting product that can prove to be really useful. If it’s worth the money depends of course on the project but I would encourage you to have a look at it and see if it fulfills your needs.
Questions? Feedback? Please leave a comment.
